
Description
Installing a Nest Smart Thermostat is easy. Begin by shutting off power to your HVAC system. Take out the old thermostat and mark the wires. Mount the Nest base, connect the wires, and mount the display. Turn on power and complete on-screen setup instructions. Connect to Wi-Fi using the Nest app and start optimizing your home’s climate.
Unboxing and Tool Preparation
Start by unwrapping your Nest Smart Thermostat carefully, making sure that everything is in the package: display, base plate, screws, and instruction manual. Collect tools such as a screwdriver, a drill (if required), and a smartphone with the Nest app. Preparing first saves time and prevents disruptions. Read through the instructions beforehand before initiating the setup.
Turning Off Power Supply
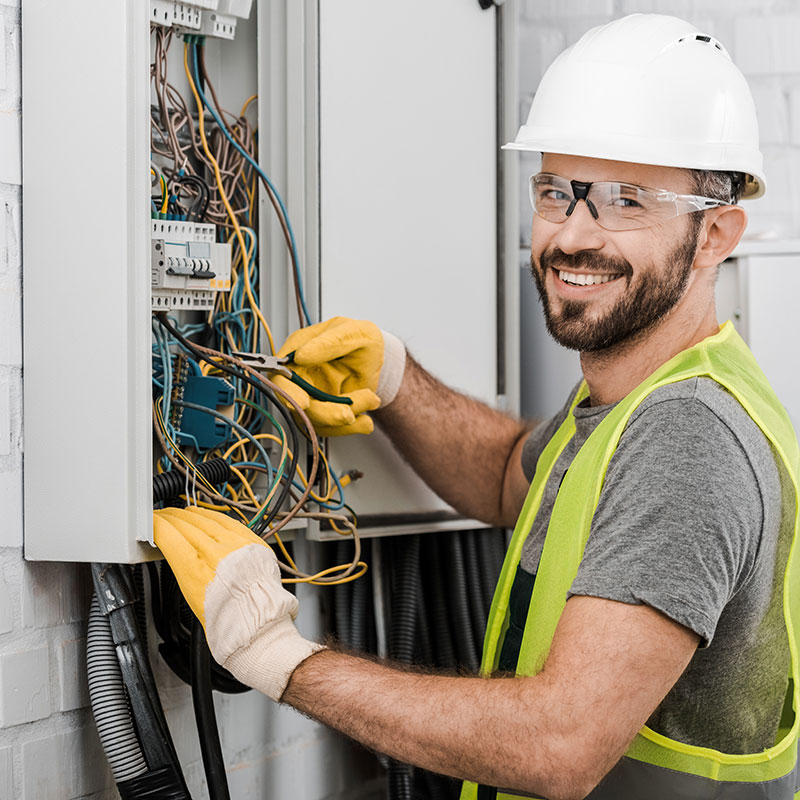
Safety first before performing any electrical task. Switch off power to your HVAC system at the circuit breaker to avoid electrical shock or damage. Check the old thermostat display to ensure power is switched off; it should be blank. Never try installing while power is on. Check the breaker again and mark the circuit if necessary.
Removing Old Thermostat Unit
Carefully take down the faceplate of your previous thermostat to reveal the wiring. Snap a photo of the wire connections as a reference. Gently label each wire using stickers that Nest supplies, or alternatively, use a pen and masking tape. Remove the base plate and carefully retract the wires. Disposal of the old unit should be done responsibly.
Mounting the Nest Base
Place the Nest base on the wall with the aid of the built-in level to maintain straight alignment. Thread the wires designated with labels through the middle hole and then link each to its corresponding terminal. After securing wires, attach the base to the wall using the screws that come with it. Make sure to secure everything firmly before moving on to the next step.
Connecting and Testing Device
Snap the Nest display onto the base. Reset the circuit breaker to turn the power back on. The device will illuminate and walk you through an in-home setup process on-screen. Use the Nest app to finish setting it up, connect to Wi-Fi, and test the heating and cooling features. Fine-tune as needed to get the best possible performance.
Conclusion
Installing a Nest Smart Thermostat is an easy DIY task if done with caution. By taking each step of preparation, power safety, device removal, base mounting, and setup you have a safe and efficient home climate control system upgrade. Always be certain to call a professional if in doubt. Relish the convenience and energy efficiency of your new smart thermostat!


Reviews
There are no reviews yet.