Description
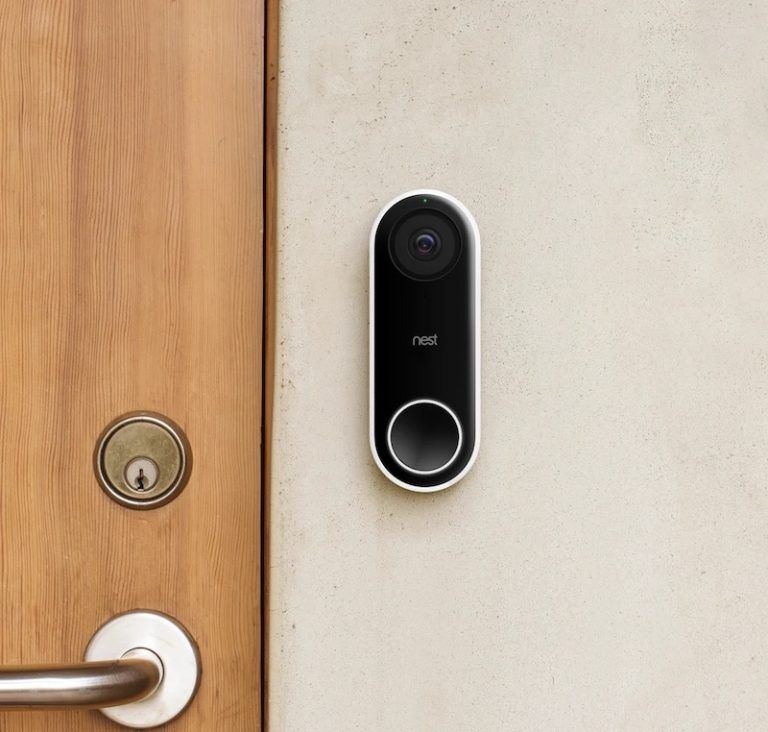
NEST Smart Doorbell Setup is an easy and efficient home security enhancement. Start by switching off the power, disconnecting your existing doorbell, and installing the NEST bracket. Wire it in, secure the doorbell, and switch on the power. Finish setup with the NEST app. Get smart alerts, live video, and a fresh update to your front entrance.
Tools and Materials
Prior to starting installation, have all materials and tools available. You’ll require a screwdriver, drill, wire stripper, level, and NEST Doorbell kit. Also, have safety equipment such as goggles and gloves. Having all the materials in advance avoids disruptions during the process and saves time. Verify that all parts of the NEST doorbell, mounting hardware, and instructions are included.
Turn Off the Power Supply
For safety, find your home’s circuit breaker and switch off the power to your current doorbell system. This avoids electrical shock when working with wires. Check that the power is entirely off using a voltage tester before proceeding. Not doing so can cause serious harm. Mark the breaker if necessary to prevent confusion later on.
Disconnect the Existing Doorbell Carefully
Carefully remove your existing doorbell from the wall by unscrewing it. Gently disconnect the wires without allowing them to drop inside the wall. Note how the wiring is configured, or snap a photo to refer to. Be careful with old wiring since the insulation can be brittle. This step makes way for your new NEST doorbell.
Install NEST Doorbell Bracket
Place the NEST mounting bracket at the location of your previous doorbell. Level it and mark screw holes. Drill pilot holes if necessary and tighten bracket with screws included in the package. If the wall is brick or stucco, use wall anchors. Properly secured, a straight bracket provides the best view of the camera.
Connect and Test System
Connect the wires to the NEST doorbell as per the provided instructions. Insert the wires into the terminals and fix the doorbell onto the bracket until it makes a clicking sound when in position. Resume power at the breaker and wait until the device powers up. Make setup, set preferences, and check for camera and chime functionality through the NEST application.
Conclusion
NEST Smart Doorbell installation is a simple task if you pay attention to every step. With proper preparation and caution, you will boost your home security with minimal hassle. Always consider safety first and follow official instructions when necessary. Once you have installed the NEST doorbell, you will enjoy the peace of mind and smart technology that comes to your doorstep.

Reviews
There are no reviews yet.